Fire Starter

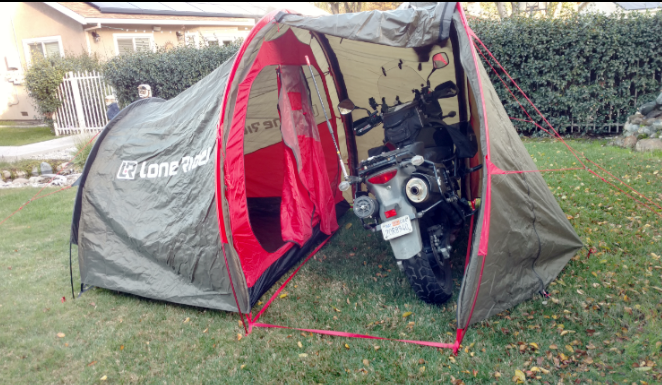
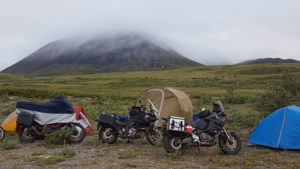
Starting a fire quickly and easily can be an art. Especially if your wood isn’t dry and/or if you don’t have something to get the fire started like kindling or lots of paper. Here’s an easy to make fire starter that I used on our motorcycle camping trips…north of the arctic circle.

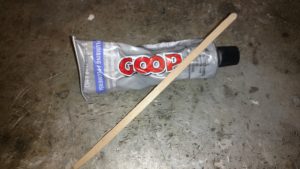
Here’s what you’ll need to collect: 1. Candles (Good Will Store?) 2. Dryer lint. 3. Paper egg cartons. 4. A propane torch or equivalent. 5. A pair of pliers.

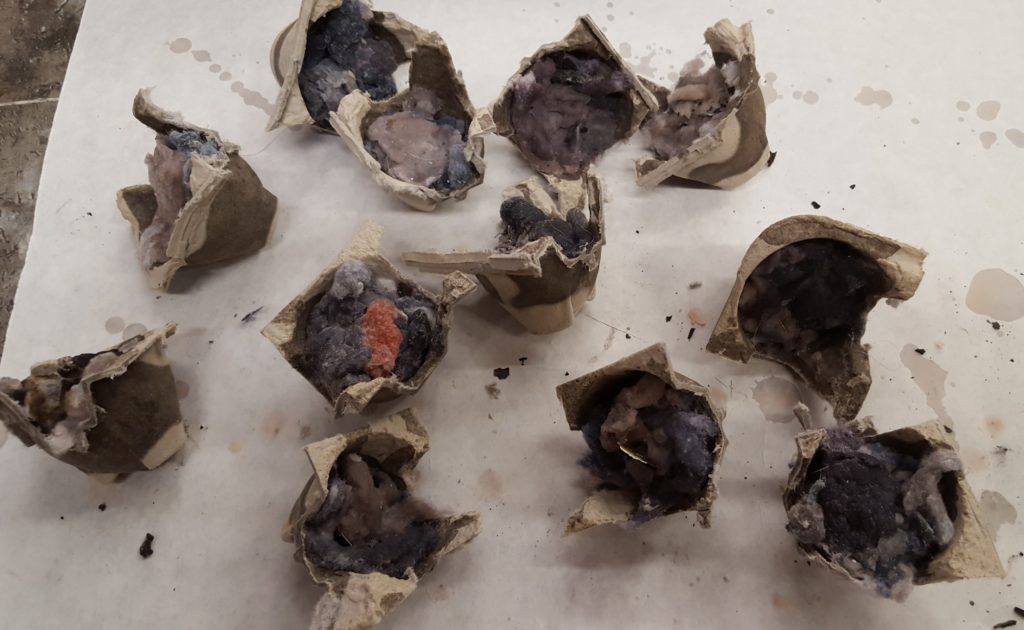
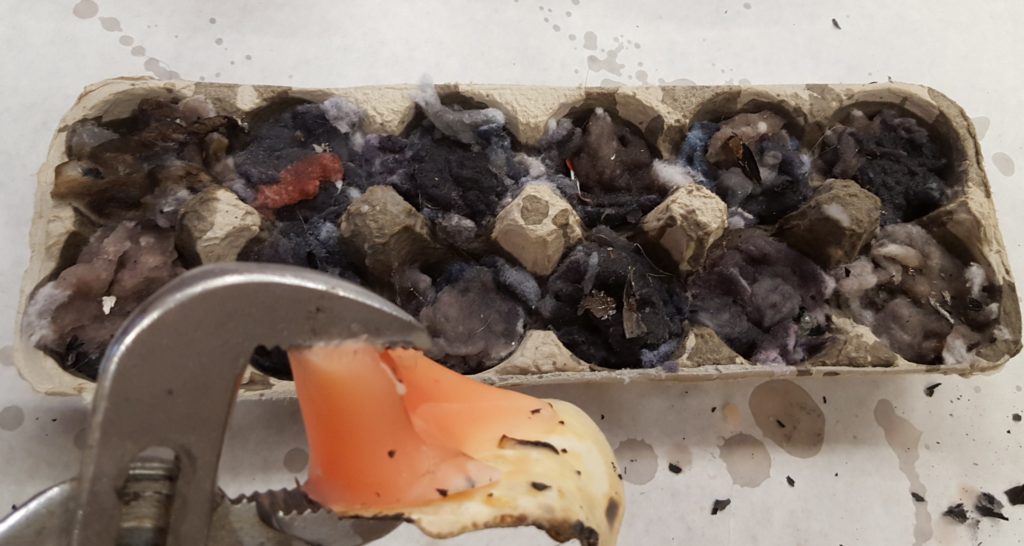
First, stuff your dryer lint into the egg cartons (remove the eggs, first 🙂 Then just melt the candle wax into the dryer lint by heating it with the propane torch. Get as much wax in there as it will hold and DON’T TOUCH IT UNTIL IT COOLS OFF! IT’S VERY HOT! Then all you have to do is separate the individual units by tearing or cutting them apart AFTER IT COOLS OFF. Ask me how I know to emphasize waiting!

Heating wax (paraffin) with torch.
Here is how it might look after melting some wax into lint

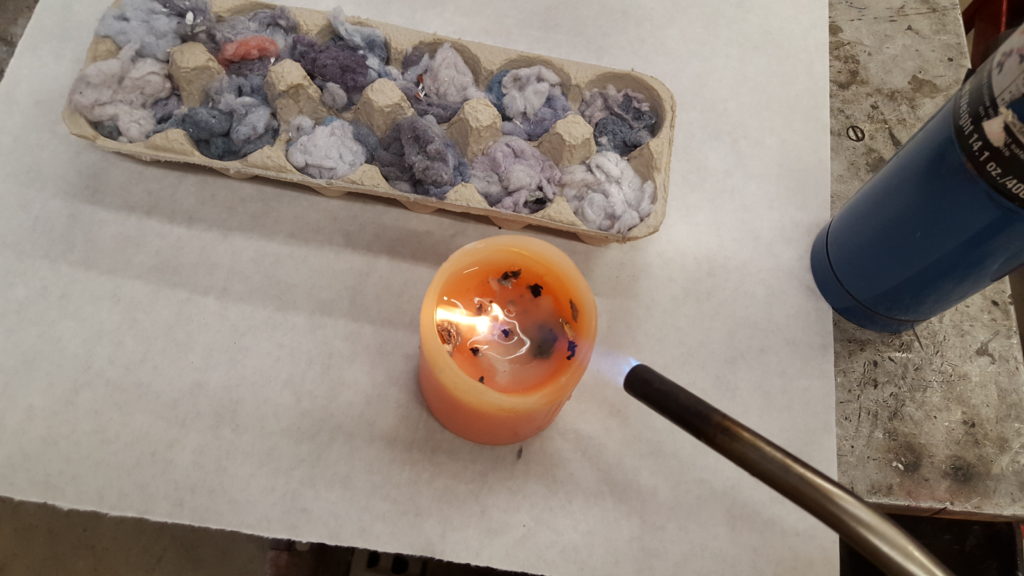
The individual units weigh about 1/2 oz each and will burn for up to 15 minutes at over 800 degrees F. That should get your fire started if you’ve laid it out correctly.

Individual units are very light, ignite easily with a match or lighter. You can save them in sandwich bags.

Which large tent?

On our 2016 trip from Sacramento, CA to Prudhoe Bay/Deadhorse Alaska and other far north environs, we carried our tents on the motorcycles and stayed in them about 1/2 the time.  Motels and at a friend’s home the other 1/2 of the time. I actually took two tents: an REI two-person dome tent and a Redverz Solo Garage-style tent for when it was raining.  I had the room on the bike to carry them and wanted to test the contrast of the two tents. While I liked the REI dome because of its fast setup and take-down needing no stakes, I found that the big garage tent made getting ready and storing gear much easier and was a nice way to escape the rain and huge mosquitos while on the frozen tundra. I could stand-up in it, work on the bike in it (If I had to) and six of us even had a party in there on a rainy “night” (24 hours of daylight) north of the Arctic Circle.

But the size of it!!!  Packed, it measures 12x12x24 and weighs 13.4 lbs which includes the optional “Garage” floor.  So I sold it and replaced it with a “Lone Rider Mototent.” It weighs 12 lbs with poles and stakes and is has almost exactly the same room inside the garage area and quite a bit more in the sleeping area. The Lone Rider is equally as tall but it packs in the supplied bag to a cylinder 8″ in diameter and 24″ long including poles and stakes. To be fair, it doesn’t have the optional floor in there.  Yes, it also needs stakes and would be a problem any place I couldn’t drive one of those in; however, we didn’t stay in any place like that last time and I don’t suspect we will this time.  So right now my plans are to leave the small dome tent home and just go with the Lone Rider this time.  It has a little more room in the sleeping area than the Redverz Solo did and maybe a tad less in the garage area.

I found that it packed into a bag just a little larger than my 2 or 3 man REI comes in. See the photos.

In the Redverz tent about midnight north of the Arctic Circle. Besides keeping the rain out, we found that the voracious mosquitos never figured out how to fly under the gap in the garage floor.

Camping on the Tundra. The brown tent is the large Redverz

Sitting in the Lone Rider tent.Great option if (when) it rains. 

Plenty of sleeping space and I could use the chair when dressing and putting on my boots. I like being able to stand up in a tent

Lone Rider, in middle packed in its carry bag compared to REI 3-person dome, top, and REI 2-person dome, bottom. Negligible size difference but the Lone Rider is heavier.


Extra gas for Alaska Trip

When we go to Inuvik, Yukon Territories in 2018, the distance between available gas is pretty close to the range I have in my tank. It’s 5.8 gallons and I get 40-45 mpg in average conditions for maybe 235 miles. In the mud with headwinds, who knows?  The 460 mile Dempster Highway to Inuvik has some gas stations and the longest distance between them is 229 miles so I’ll carry two, one-gallon extra tanks on the lids of my aluminium side cases.

Fit up. holding the tanks on with blue tape at first

I would have mounted them on the sides of the top case, but then I couldn’t open the left side case lid without hitting the gas can. I used the handy RotoPlex cans with their twist-lock fastener. Last time I didn’t take the top case anyway so this mounting method gives me the option to leave the top case home again and just use the waterproof canoe bags again.

After fitting them up, I removed the twist-lock fastener and put bolts with plastic washers for weatherproofing in the holes.

Got the rubber furniture bumpers at Lowes. Used some plastic washers under the bolts to seal the lid.  

Neater without the tanks. When I need them, I’ll just reinstall the fasteners and snap on the tanks.

To avoid maybe 9000+/- miles of the side case lids rubbing on the plastic gas tanks, I found some nifty rubber self-stick furniture bumpers at Lowes and put them on the lids where the tanks would rub.

I got concerned that the plastic hinges might break when opened since there was no lid-stop, so I dug out my plastic-covered small cable kit and made up some nifty lid-stops.  Used stainless hardware for all bolts and nuts.

The plastic-coated cables keep the lid from stressing the hinges. Important with 7 pounds of fuel in the attached tank.

Plumbers Goop. At Lowes in the sealant section. Great for sealing and attaching things.

The last thing I did was to remove all the bolts holding the lid-stoppers and seal them back on with Plumber’s Goop to keep the box as leak-proof as possible.